Authentication & Tokens
As mentioned in the getting started section, there are 2 ways of authenticating with the REST API:
-
User Authorization Token (UAT): This method allows for finer-grained access control and is preferred over the username/password authentication method. When using a UAT, the client application can directly access the endpoint without having to log in first. This method also provides added security since the UAT token only has the access permissions assigned to it at the time of creation. The assigned permissions limit the token's capabilities and make it more secure. Also, UAT tokens can be more easily revoked, making them ideal for testing purposes.
-
Username/Password Credentials: This authentication method grants the client application access to all APIs the user has access to. As such, it is highly advisable to use a user with limited permissions for security purposes. The logged-in session can access any API that is available to the user account it is attached to. When using this method, the client application must provide a JWT token in the HTTP header of each request to authenticate the user.
UAT is preferred due to its granularity and added security features.
To test if access is working, you can access GET https://api.staging.scantrust.io/api/v2/me/
Obtaining a User Authorization Token (UAT)
-
Log on to the Enterprise Portal as a company admin
-
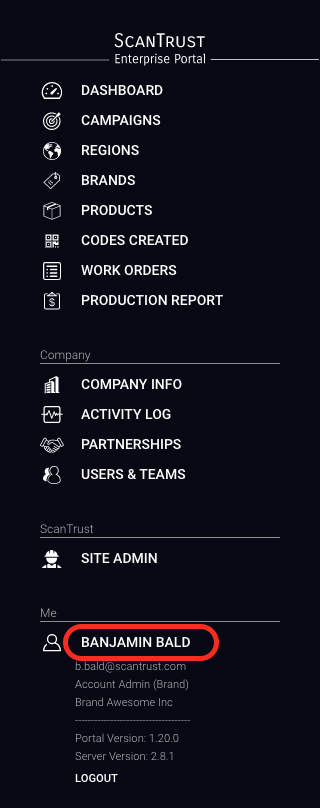
From the left hamburger menu, click on your user name (below the heading me)
-
Click the (+) icon next to
USER AUTHORIZATION TOKENS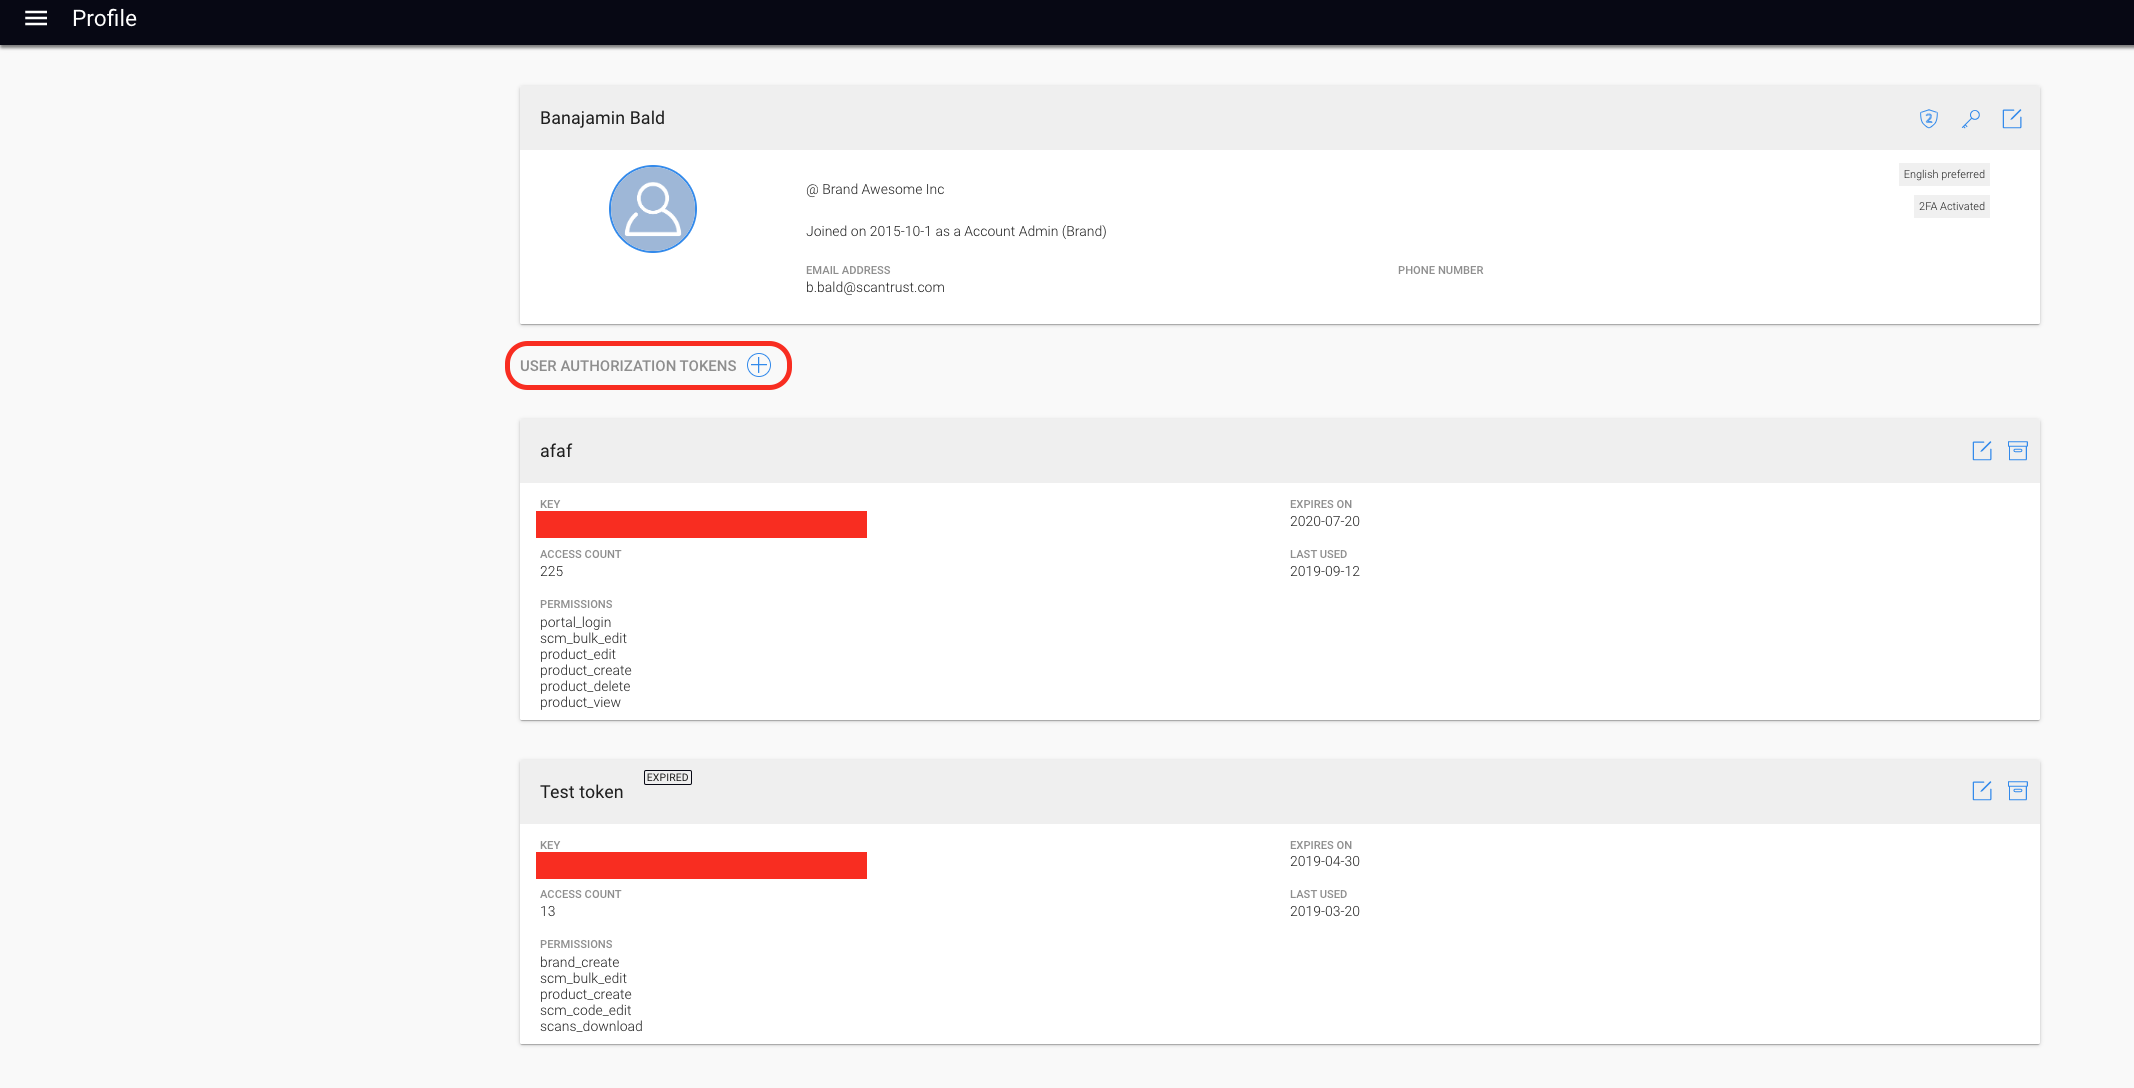
-
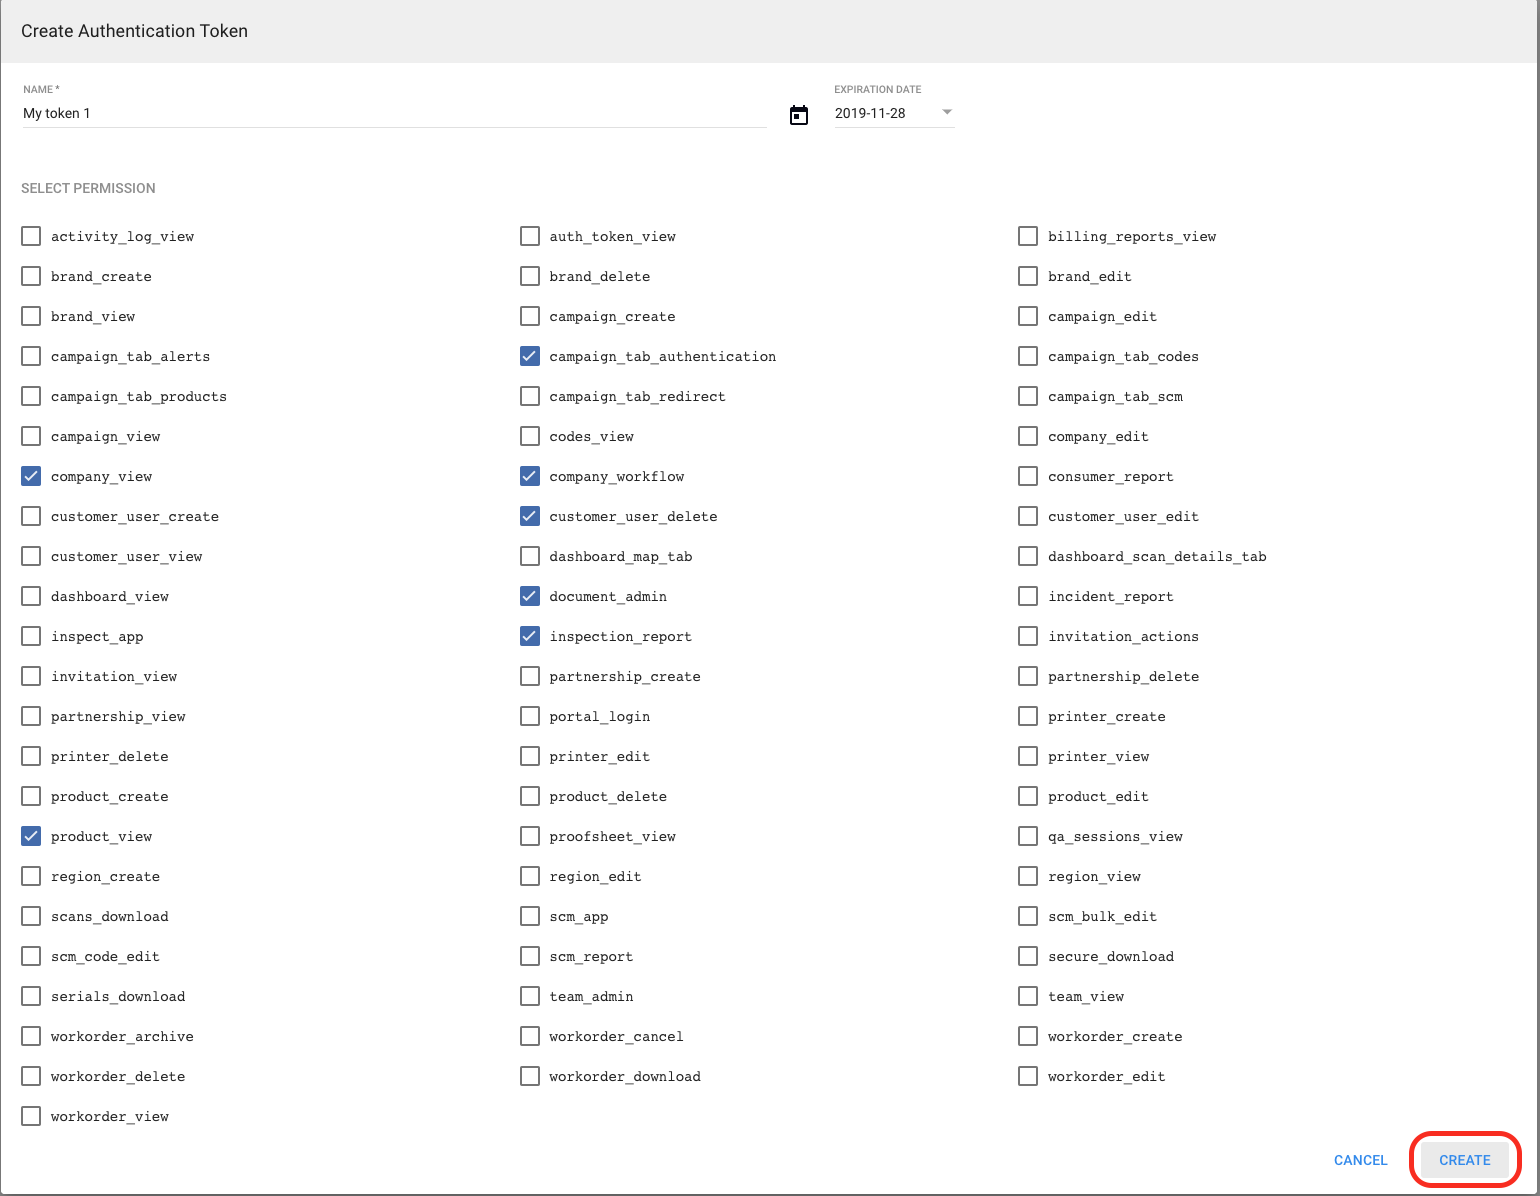
Select the date until which this token is valid
-
Select the access rights you would like to give to this token. Below are some of the available permissions:
- brand_create
- product_create
- scans_download
- scm_bulk_edit
- scm_code_edit

Using the UAT token
With the UAT token, instead of having to request a JWT token first, the UAT token obtained from the portal can be directly used in the header:
POST HEADER: "Authorization": "UAT {token value}"
Obtaining a JWT token (DEPRECATED)
To call private API endpoints using a JSON web token (JWT), the token must be included in the POST header. This means that a login endpoint must be called first to authenticate the user. If the login is successful, the API will respond with a JWT token that can be used for future API calls.
The JWT is then sent in the request header as follows:
headers={"Authorization": "JWT " + token}
POST: /api/v2/auth/jwt/
Log in a user and return a JSON Web Token (JWT).
| Attribute | Required? | Description |
|---|---|---|
| required | The email address of the Brand Admin/SCM User to log in | |
| password | required | The password of the user |
Body Parameters POST (application/json)
{
 "email": "user@example.com",
 "password": "p@sSw0rd"
}
Response (200): Status OK
When the user has successfully logged in following response will be presented:
{
 "token": "example_web_token"
}
Response (400): Invalid user or password
Response when the user is unable to login:
{
    "non_field_errors": [
       "Unable to login with provided credentials."
    ]
 }